| title | Installing Testsigma Lite | ||||||||||||||||||||||||||||||||||||||||
|---|---|---|---|---|---|---|---|---|---|---|---|---|---|---|---|---|---|---|---|---|---|---|---|---|---|---|---|---|---|---|---|---|---|---|---|---|---|---|---|---|---|
| pagetitle | Installing Testsigma Lite for Live Editing | ||||||||||||||||||||||||||||||||||||||||
| metadesc | Learn how to install Testsigma Lite, which is a live editor for Test Cases | Testsigma Lite gives you complete control over test case execution and debugging to modify test steps immediately | ||||||||||||||||||||||||||||||||||||||||
| noindex | false | ||||||||||||||||||||||||||||||||||||||||
| order | 10.2 | ||||||||||||||||||||||||||||||||||||||||
| page_id | Installing Testsigma Lite for Debugging | ||||||||||||||||||||||||||||||||||||||||
| search_keyword | |||||||||||||||||||||||||||||||||||||||||
| warning | false | ||||||||||||||||||||||||||||||||||||||||
| contextual_links |
|
Testsigma allows you to fix test case issues instantly using Live Editor. To use this feature, you must install the Testsigma Lite application. This article discusses downloading, installing, and setting it up on your machine.
Ensure you have the following requirements:
- Memory: Minimum 8 GB (dedicated for tests).
- Disk Space: At least 20 GB (includes reserved space for test resources such as screenshots and downloaded files).
- Processor: Dual-Core Processor or higher.
- Ensure these ports are available: 8383, 8484, 18329.
- Download Size: 850 MB
- Extracted Size: 1.5 GB
- Download Location: The ZIP file is automatically deleted after successful extraction.
- Windows: %user_profile%\ .testsigma\TestsigmaLite\
- Linux: $HOME/.testsigma/TestsigmaLite/
- Mac: /$HOME/.testsigma/TestsigmaLite/
Testsigma Lite is available in the following formats:
- Executable files (.msi)
- DMG files (.dmg)
- Compressed files (.tar.gz)
-
From the left navigation bar, go to Agents, and click Testsigma Lite in the top-right corner.
-
In the dialog box that appears, select the machine configuration. Testsigma automatically downloads Testsigma Lite application.
-
Install and open the Testsigma Lite application.
-
Wait until Testsigma Lite downloads the necessary files, extracts them, and starts the agent in the background.
-
Once Testsigma Lite starts, users can either continue using the existing agent by clicking Use Existing or install a new agent by clicking Install New Agent.
-
Follow the instructions here to register the Agent.
-
Once the Agent is activated, you can start debugging the test cases.


-
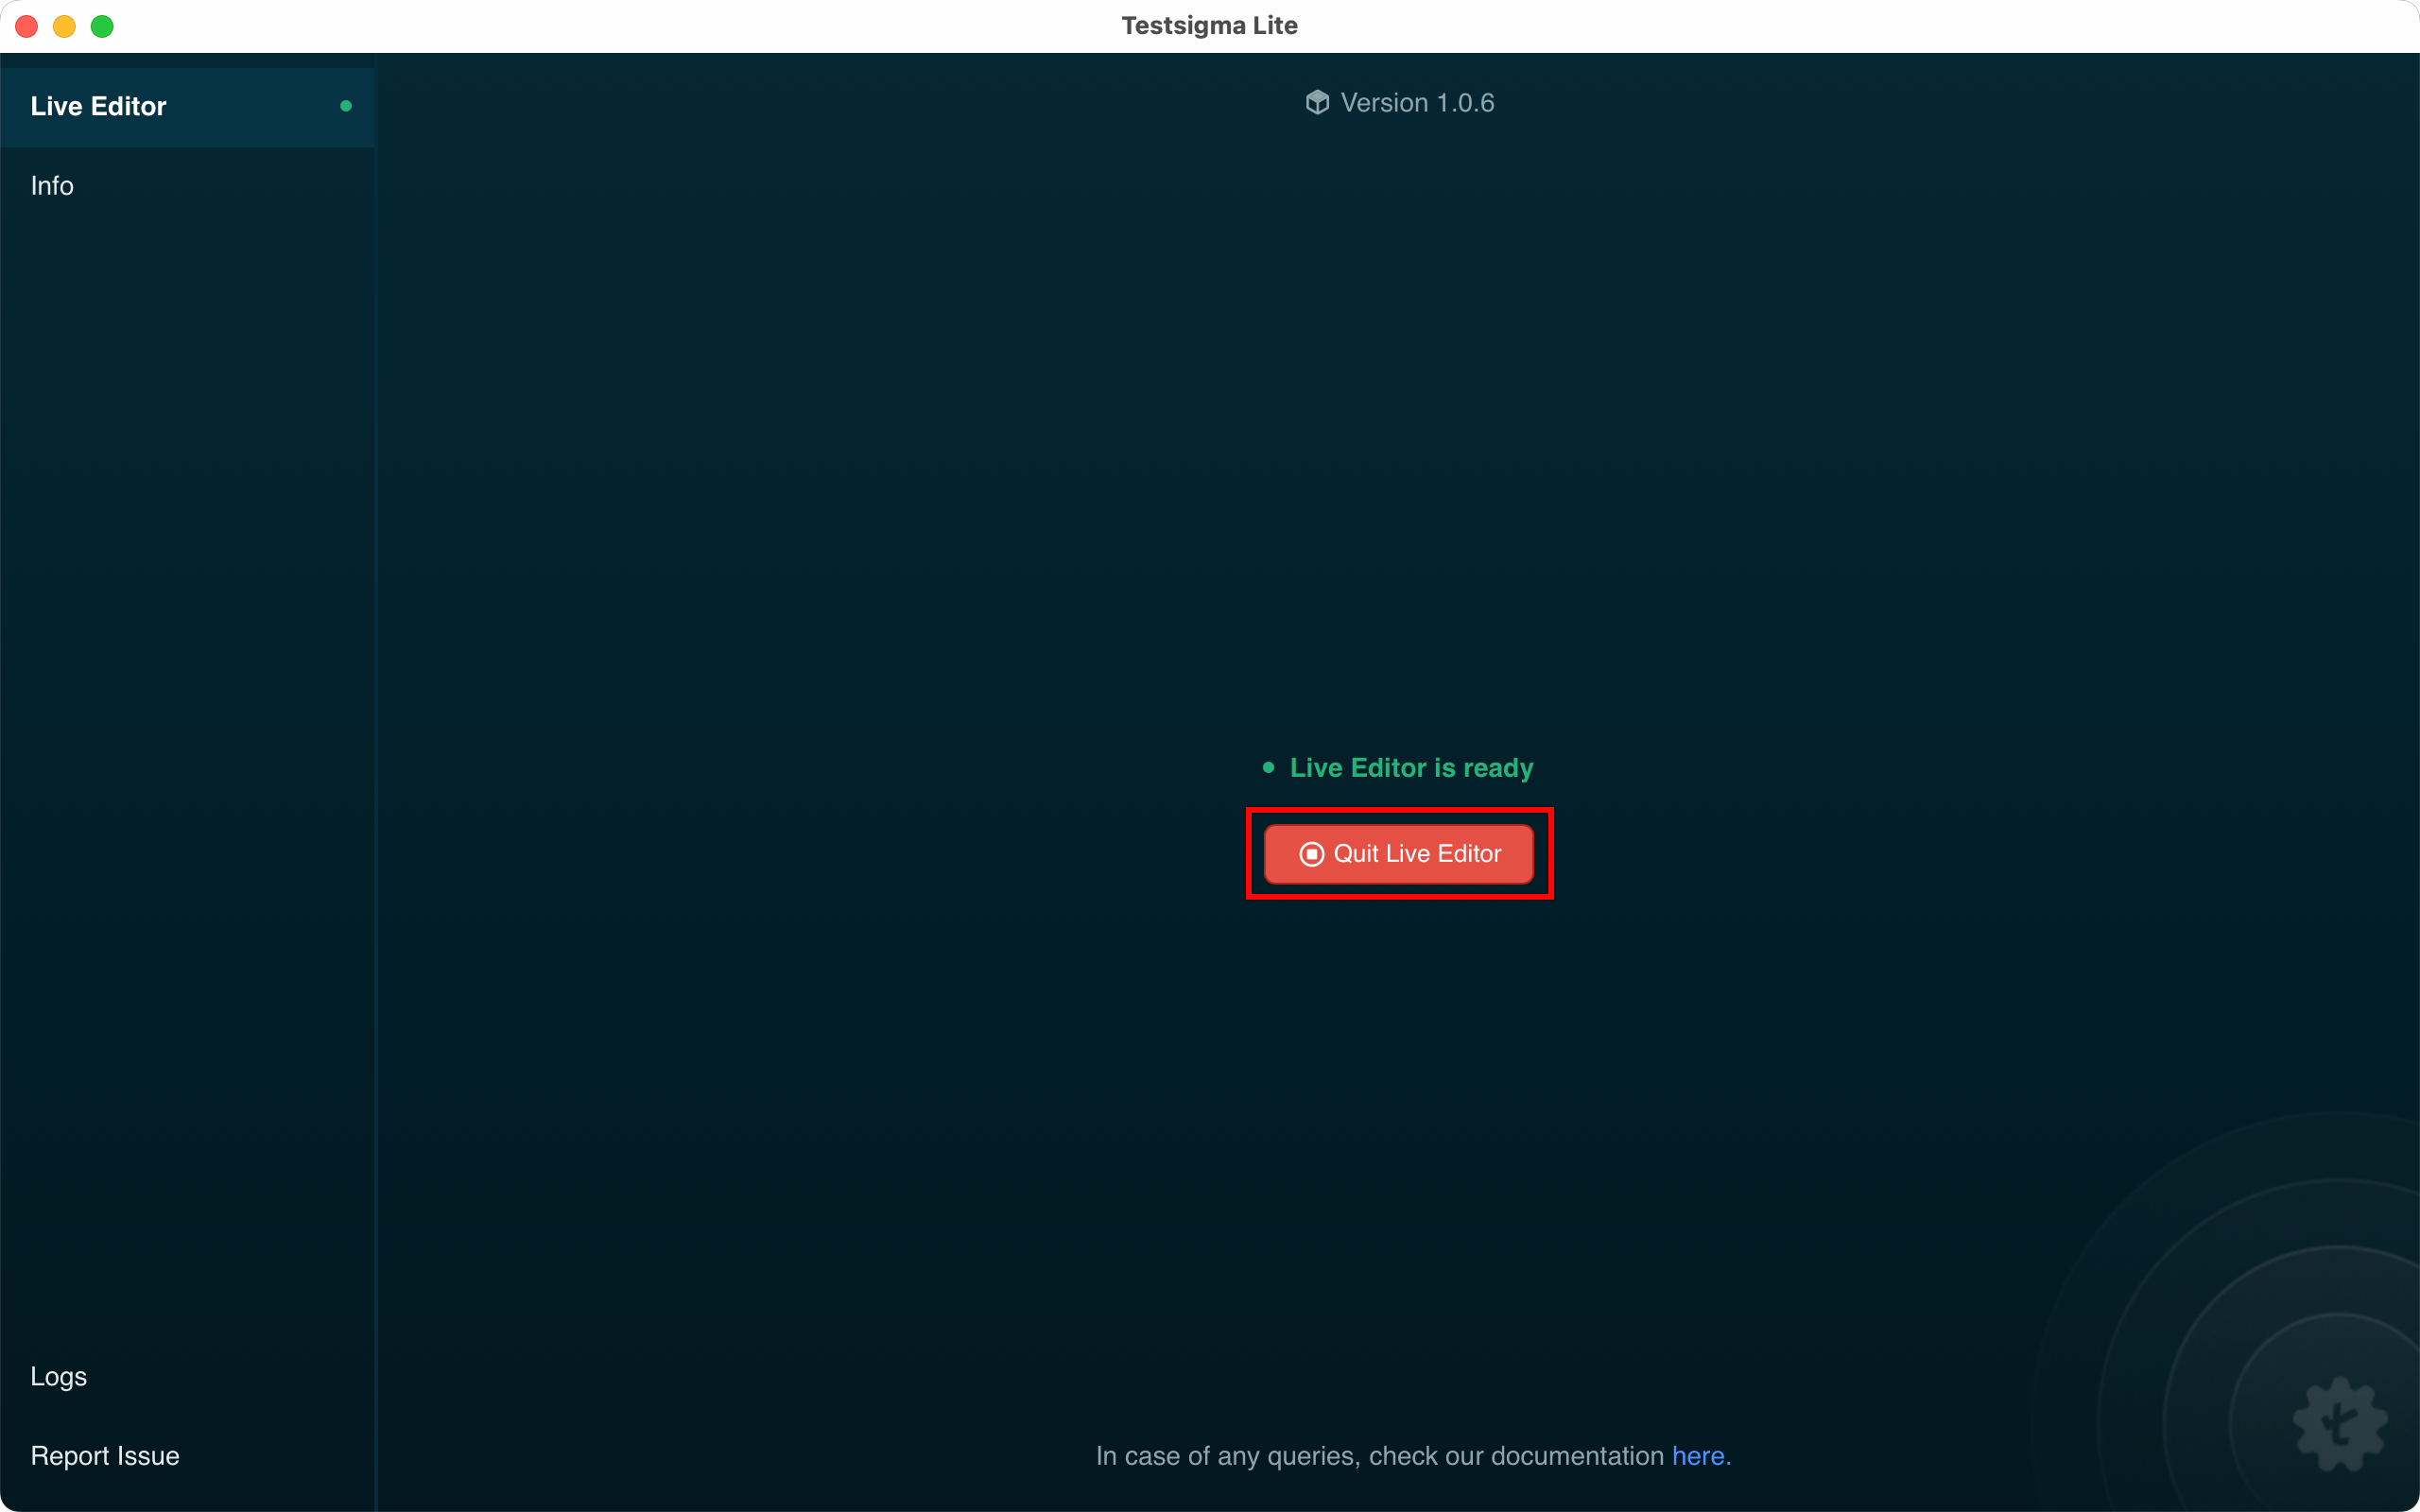
Click Quit Live Editor to exit the Live Editor.
-
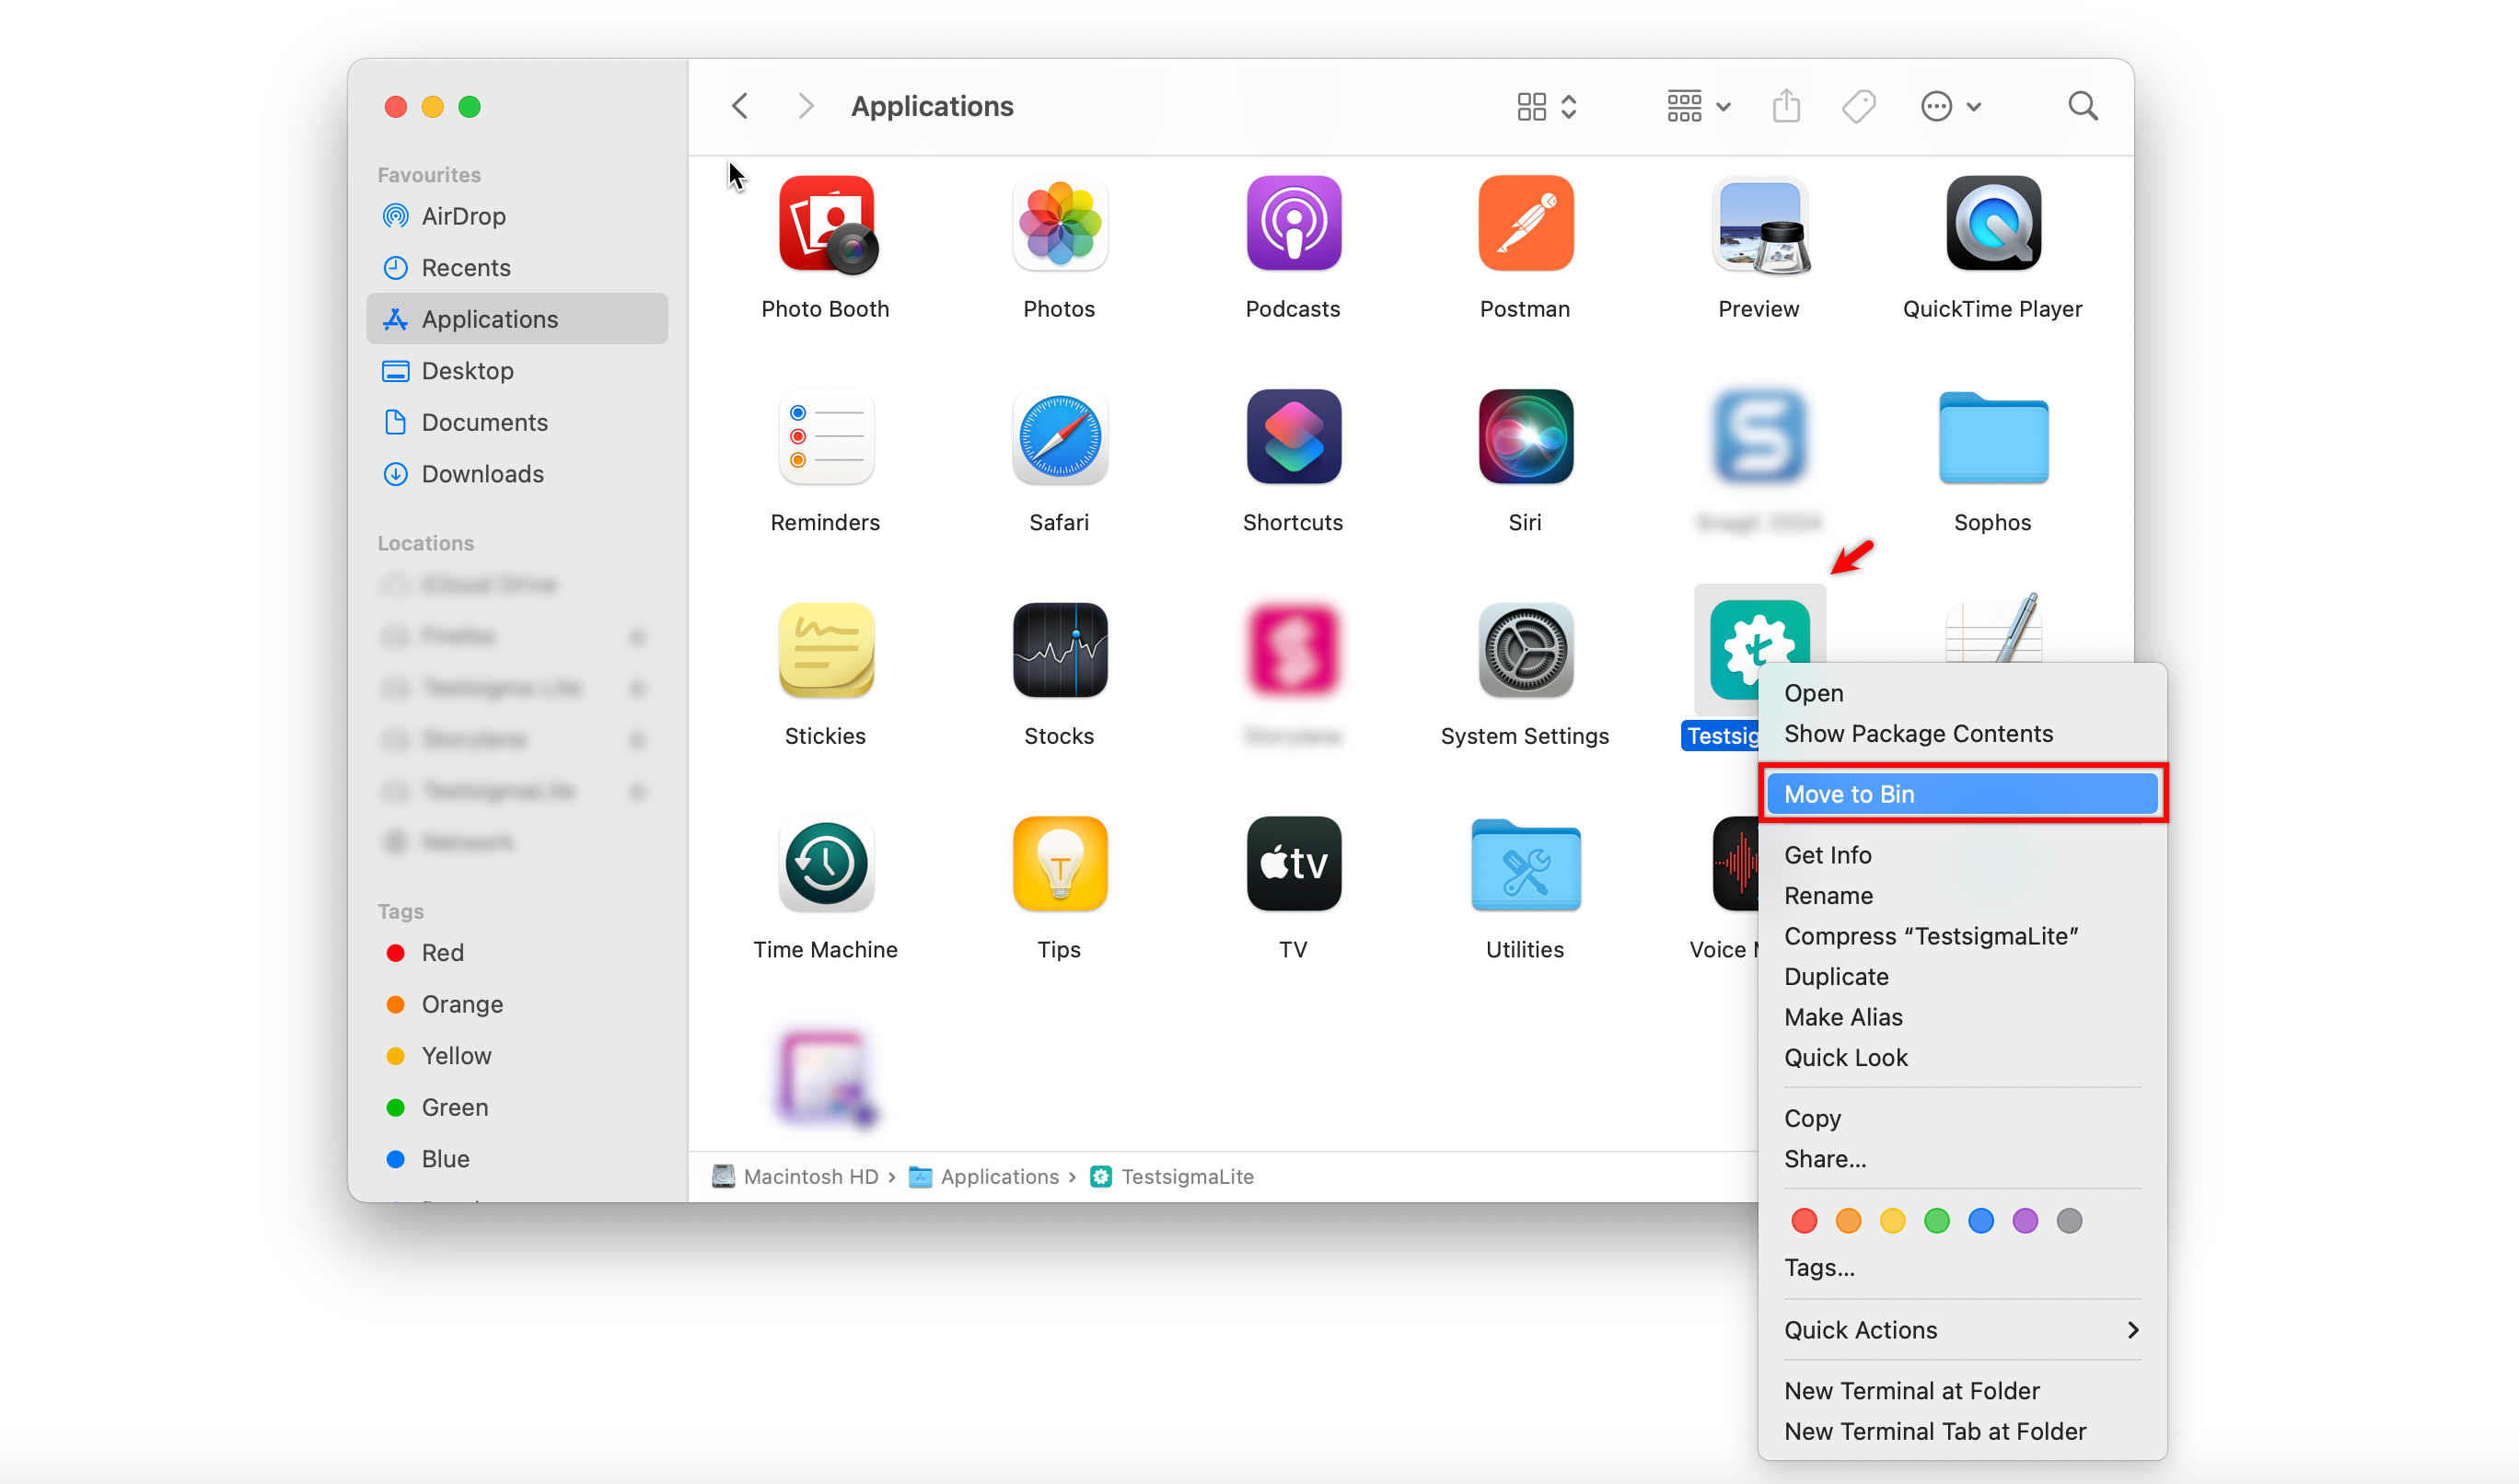
Uninstall/Remove Testsigma Lite application.
-
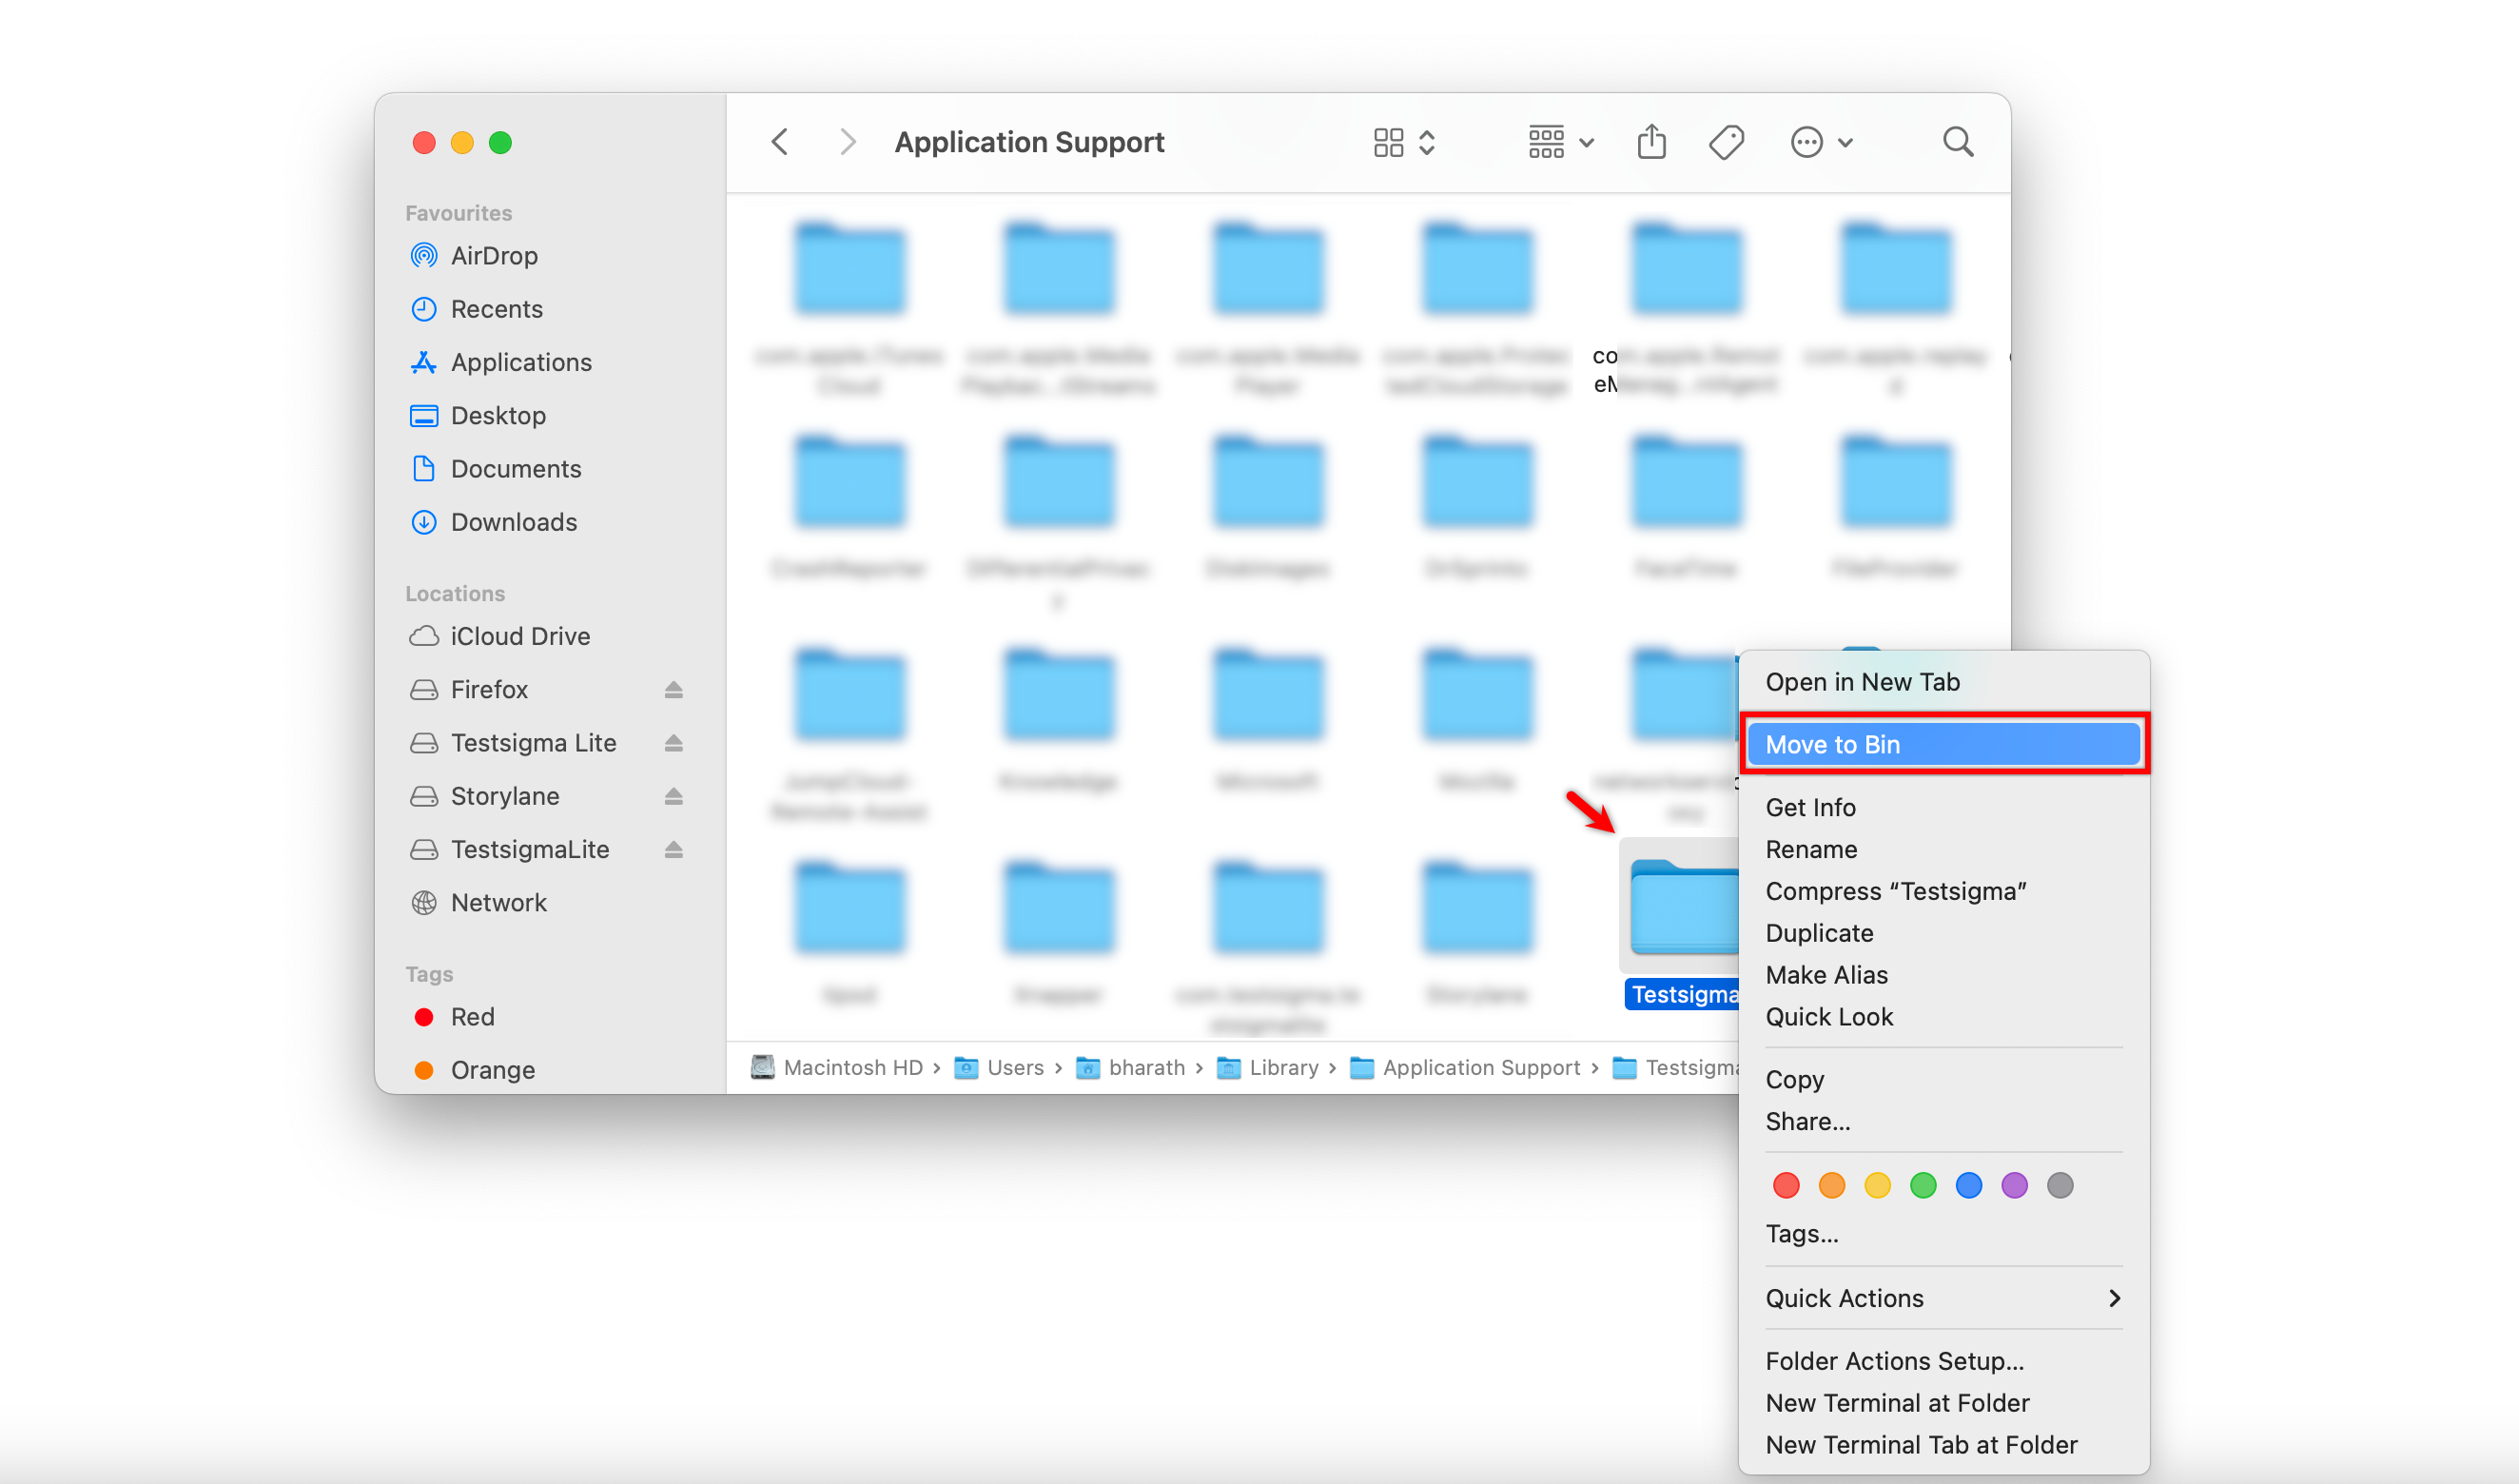
Go to Disk > Users >
user_folder> Library > Application Support and remove Testsigma folder.$HOME/Library/Application Support/Testsigma/Agent/config/agent.properties
-
To stop the agent running in the background, Run the following command in the terminal:
cd $HOME/.testsigma/TestsigmaLite/agent/TestsigmaAgent
./stop.sh
cd %user_profile%\.testsigma\TestsigmaLite\agent\TestsigmaAgent
stop.bat
For macOS/Linux
-
Open the Terminal.
-
Run the following command to get the Process ID (PID):
lsof -i :8383 -
Copy the PID and use the following command to terminate the process:
kill -TERM <PID>
For Windows
-
Open PowerShell.
-
Run the following command to get the Process ID (PID):
Get-Process -Id (Get-NetTCPConnection -LocalPort 8383).OwningProcess -
Copy the PID and use the following command to terminate the process:
Stop-Process -Id <PID> -Force
- Windows: %user_profile%\AppData\Roaming\Testsigma\Agent\config\agent.properties
- Linux: $HOME/.testsigma/agent/config/agent.properties
- Mac: $HOME/Library/Application Support/Testsigma/Agent/config/agent.properties
- Windows: %user_profile%\AppData\Roaming\Testsigma\Agent\
- Linux: $HOME/.testsigma/agent/
- Mac: /$HOME/Library/Application Support/Testsigma/Agent/
Testsigma Lite state.
- Windows: %user_profile%\AppData\Roaming\com.testsigma.testsigmalite\
- Linux: $HOME/.testsigma/com.testsigma.testsigmalite/
- Mac: /$HOME/Library/Application Support/com.testsigma.testsigmalite/
[[info | NOTE:]]
| To access .testsigma folder in the above path, you need to unhide hidden folders in your user_folder.
Shortcuts to View Hidden Files:
- Mac: Press Command (⌘) + Shift + . in Finder.
- Windows: Press Windows + R, type control folders, go to the View tab, and select Show hidden files, folders, and drives.